How to Take a Good Selfie: 12 Tips That Actually Work
Learn how to take a good selfie with simple, proven tips on light, angles, lens distance and timers, plus how to edit lightly so your selfie still looks like you on a great day.

A good selfie isn’t about having a "photogenic" face. It’s about light, distance and a few small habits that photographers use without thinking about it. Get those right and your phone does the rest.
Here are twelve practical tips, from setting up the shot to editing lightly afterwards, so your selfies look like you on a great day, not like a filter.

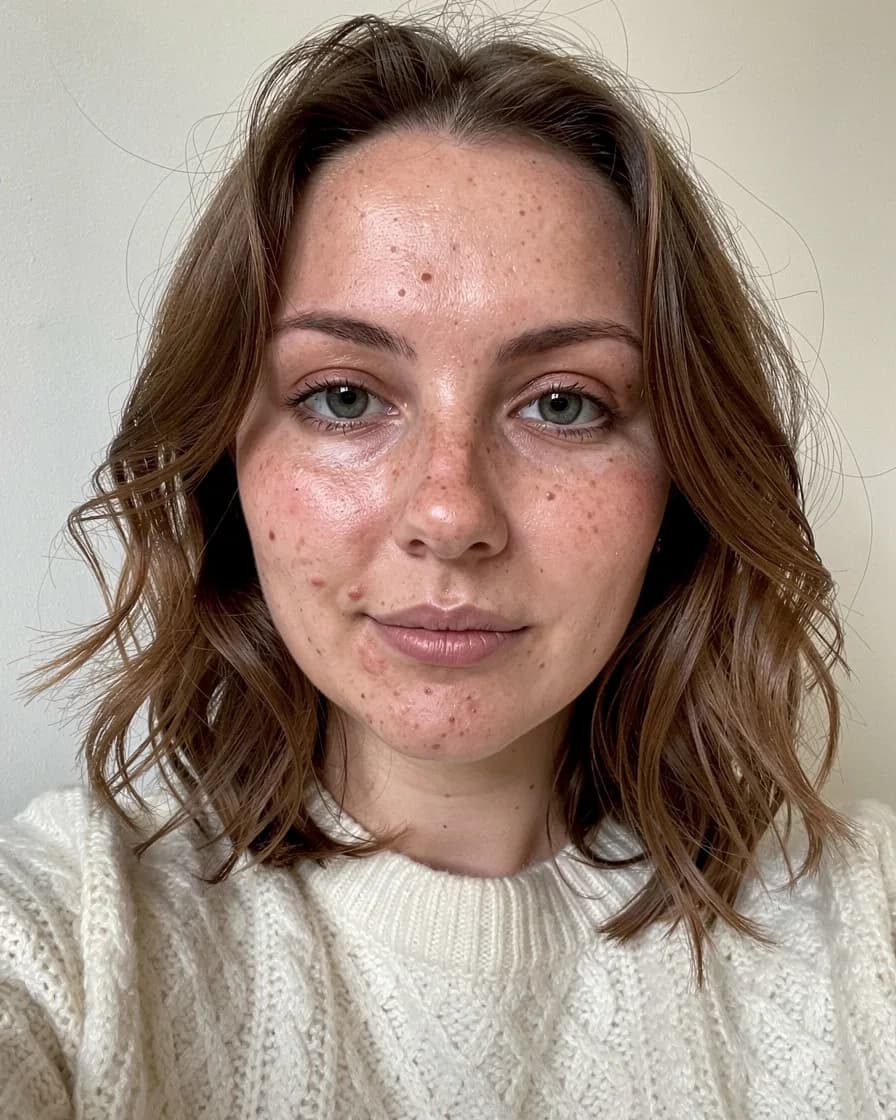
Light: the single biggest upgrade
1. Face the window
Stand facing a window so soft daylight falls evenly on your face. It fills in shadows under the eyes and gives your eyes a natural catchlight. Turn your back to the window and you get a dark face with a bright halo.
2. Avoid overhead light
Ceiling lights and midday sun come from above and create shadows under the brows, nose and chin. If you’re outside at noon, step into open shade, like the shadow of a building, where light is softer.
3. Use golden hour
The hour after sunrise and before sunset gives warm, low, flattering light. Turn slightly toward the sun rather than straight into it, so you don’t squint.
Tip: no good window? Put a white sheet of paper or a pillowcase on your lap. It bounces light back up into your face and softens shadows.
Distance and lens: why your nose looks bigger
4. Hold the phone further away
Front cameras are wide-angle lenses. When the phone is 20 to 30 cm from your face, the features closest to the lens, usually the nose and forehead, look larger than they are. At 40 to 50 cm or more, proportions look much more natural. A short selfie stick or simply extending your arm fully helps a lot.
5. Use the rear camera when you can
The rear camera has a better sensor and often a 2x or 3x lens, which is far more flattering for faces. Prop your phone on a shelf, use a small tripod, and frame the shot with the 2x lens from about one to two meters away.
6. Use the timer or burst mode
A 3 or 10 second timer frees both hands and gives you time to relax into a natural expression. Burst mode captures a run of frames so you can pick the one where your eyes and smile line up. Many phones also let you trigger the shutter with a volume button or a voice command.
Angles and posing
7. Camera slightly above eye level
Hold the phone just above your eyes and tilt it gently down. Much higher and it looks dated; much lower and it emphasizes the chin and neck.
8. Turn your face 15 to 30 degrees
A dead-on face can look flat. A slight turn adds shape to cheekbones and jaw. Try both sides: most people have a side they prefer, and it often has to do with your parting or a smile that rises slightly more on one side.
9. Chin forward, then down
This is the photographer’s classic trick. Push your face gently toward the camera, then tip your chin down a little. It defines the jawline instantly. It feels strange, but it looks natural on camera.
10. Relax your eyes and mouth
A forced smile shows mostly in the eyes. Think of something genuinely funny, breathe out, then take the shot. For a softer look, squint very slightly from the lower lids, which reads as warmth rather than tension.
The small stuff that adds up
11. Clean the lens and check the background
A fingerprint on the lens creates haze and soft focus. Wipe it on your sleeve before every session. Then glance behind you: a tidy wall, a plant or an outdoor view beats a pile of laundry. You can blur or remove distractions later, but it’s easier to avoid them.
12. Lock focus and exposure
Tap your face on the screen to focus, then hold to lock exposure. Slide the brightness down a touch if your skin looks washed out. Turn on gridlines and place your eyes on the upper third line for a balanced composition.

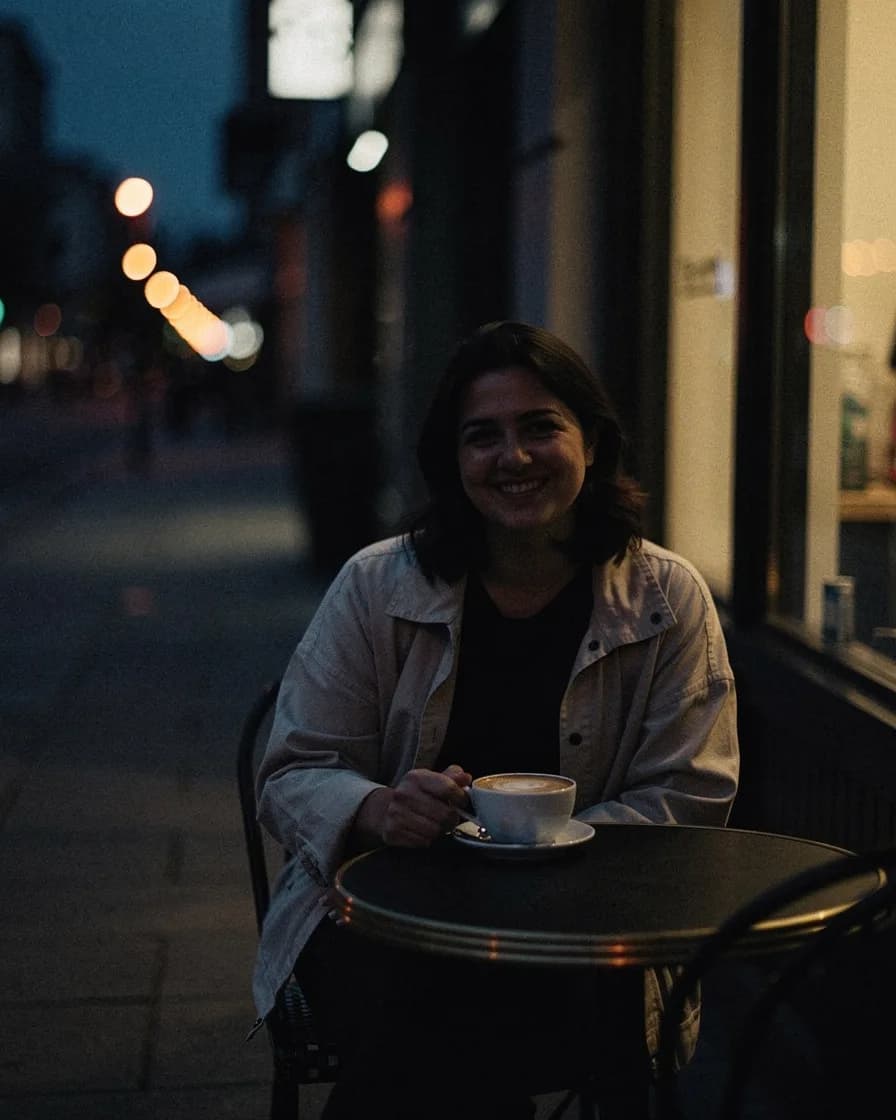
Edit lightly: the 10% rule
A good selfie needs very little editing. The goal is to remove what wasn’t really you (a temporary spot, harsh light) and leave everything that is. A useful rule: if a change is noticeable at first glance, it’s too much. Keep any single adjustment under about 10 to 20%.
- Brightness first. Lift exposure slightly if the photo is dim, using an image brightener. Light fixes more than smoothing does.
- Gentle skin smoothing. Keep pores and texture visible. Our guide on smoothing skin naturally explains how far to go.
- Spot fixes, not face changes. Remove a passing blemish (see how to remove blemishes from photos) but leave freckles, moles and laugh lines.
- Teeth and eyes, only a touch. A slight brighten looks fresh. Pure white looks fake. More in how to whiten teeth in photos.
How to do it in FaceBodyTune
- Upload your selfie in the editor.
- Open the Smooth tool and use a low strength, around 20 to 30%, so texture stays visible.
- Adjust brightness if needed, then compare with the original using the before/after view.
- Download the result in full resolution.
Basic edits like smoothing and brightness run right in your browser, and your photos aren’t kept on our servers. For more control, see the skin smoothing feature page.
Mistakes to avoid
- Shooting at arm’s length below the chin. It’s the least flattering angle there is.
- Using the flash. It flattens faces and adds shine. Find a window instead.
- Stacking filters. One gentle filter is plenty. Three makes skin look plastic.
- Over-editing every selfie. If your friends don’t recognize you in person, you’ve gone too far.
Before-you-post checklist
- Soft light from the front, no harsh overhead shadows
- Phone at least 40 cm away, or the rear camera on 2x
- Camera slightly above eye level, face turned slightly
- Lens wiped, background checked
- Edits subtle enough that nobody can point to them
Selfies are a skill, not a gift. Try two or three of these tips at a time and you’ll see the difference within a week.
Frequently asked questions
Why do I look different in selfies than in the mirror?
Two reasons. The mirror shows you flipped, which is the version you’re used to, and the front camera is usually a wide-angle lens held very close, which slightly enlarges whatever is nearest to it, like the nose. Holding the phone further away and using the rear camera fixes most of it.
What is the most flattering selfie angle?
For most people, the camera held slightly above eye level, face turned about 15 to 30 degrees, with the chin pushed gently forward and down. Try both sides; most people have a favorite.
Should I use my phone’s beauty mode?
It’s usually better to turn it off. Built-in beauty modes often over-smooth and change face shape automatically. Take a clean photo and apply light, controlled edits afterwards instead.
What is the best light for selfies?
Soft daylight from a window in front of you, or outdoors in open shade or during golden hour. Avoid harsh overhead light, which casts shadows under the eyes.
Try it on your own photo
Free face and body edits right in your browser — plus AI tools when you want more.
Retouch selfieKeep reading

How to Make a Passport Photo at Home (Step-by-Step Guide)
Learn how to make a passport photo at home that’s more likely to be accepted: lighting, plain backgrounds, framing, common sizes by country and the retouching rules you must follow.

LinkedIn Headshot Tips: How to Look Professional in 2026
LinkedIn headshot tips that make a real difference: framing, background, outfit, expression, the right photo size and how to create a professional headshot at home or with AI.

Dating Profile Photo Tips: 6 Shots to Include (and Avoid)
Honest dating profile photo tips: the six shots to include, which photos to leave out, how recent your pictures should be, and why light edits beat heavy filters on dating apps.