How to Whiten Teeth in Photos (Naturally) — 2026 Guide
Learn how to whiten teeth in photos without the glowing, fake look. Why teeth turn yellow on camera, the right slider amount, mistakes to avoid and a quick checklist before you post.

A great smile is often the first thing people notice in a photo, and it’s also the first thing a camera gets wrong. Warm bulbs, phone processing and the shadow under your top lip can make perfectly healthy teeth look dull or yellow in a picture, even when they look fine in the mirror.
The good news is that learning how to whiten teeth in photos takes about thirty seconds once you know the rules. The trick isn’t making teeth white. It’s making them look like your teeth on a good day.

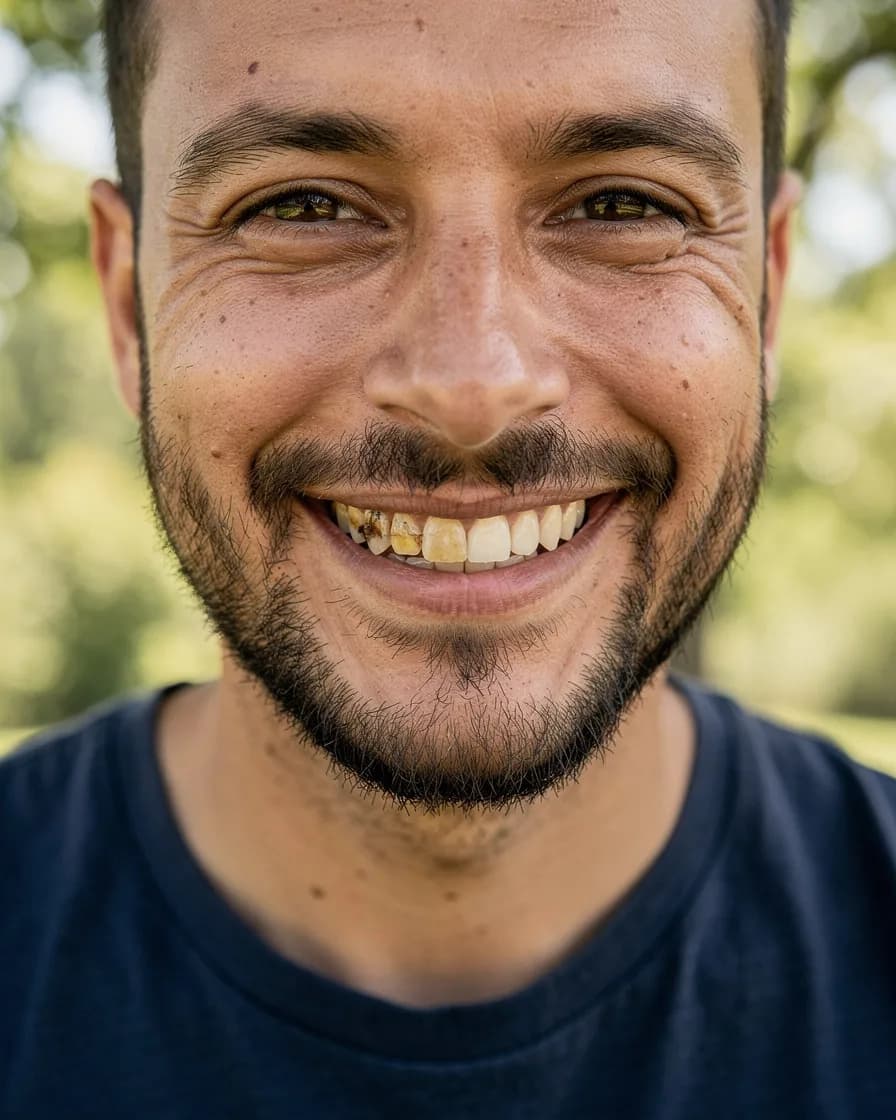
Why teeth look yellow in photos
Before you reach for a slider, it helps to know what you’re fixing. Most “yellow” teeth in photos are caused by one of these:
- Warm light. Tungsten bulbs, candles and golden-hour sun all add orange to everything, including enamel.
- Lip shadow. Your upper lip casts a small shadow over the top teeth, which reads as gray or beige.
- Auto white balance. Phones guess the color of the light and often guess warm indoors.
- Contrast with skin and lipstick. A deep red lip or a tan makes teeth look brighter; a peach lip or a cool filter can make them look duller.
If the whole photo looks orange, correct the light first. A quick pass with an image brightener or a neutral filter often removes half the yellow before you touch the teeth at all.
The golden rule: whiter, not white
Real teeth have color. They’re slightly translucent at the edges, a little warmer near the gums and never the same shade from front to back. When an edit turns them flat white, the eye notices instantly.
Use these guidelines:
- Reduce yellow before adding brightness. Natural whitening removes the stain, not the shading.
- Stay below the whites of your eyes. Teeth that are brighter than the sclera almost always look fake.
- Keep the gaps and edges. You should still see the line between each tooth.
- Keep the back teeth darker. Molars and side teeth sit in shadow; that depth makes a smile look three-dimensional.
Tip: if you can’t decide whether you’ve gone too far, you have. Pull the slider back by about a third and look again.
How to whiten teeth in FaceBodyTune
The teeth whitening tool is free, runs in real time and only touches your teeth, never your lips, gums or skin.
- Upload your photo. Open the free editor and drop in a photo where your teeth are clearly visible.
- Open the Face panel. Under Retouch, find the Whiten teeth slider.
- Start low. Move it to around 25–30. The Natural one-tap preset sets it at 30, along with gentle skin smoothing and brightening.
- Zoom in. Check the result at 100% and make sure each tooth still has its own edge and the back teeth stay a little darker.
- Compare. Toggle between before and after. If the after looks “bright” rather than “healthy”, lower the slider.
- Download. Save your photo at full quality.
Basic edits like this run right in your browser, so your photo isn’t uploaded or kept on our servers. You can read more about the tool on the teeth whitening page.
How much is too much? Simple numbers to follow
Every photo is different, but these ranges work for most:
- Natural daylight selfie: 15–30
- Warm indoor or restaurant photo: 30–45, after correcting the overall light
- Professional headshot: 20–35; keep it believable for people who will meet you in person
- Wedding or event photo: 30–50, since bright dresses and suits make teeth look darker by comparison
Anything above about 60 is usually only needed for very dark or very warm images, and even then it’s worth fixing the lighting instead.
7 mistakes that make whitened teeth look fake
- Glowing teeth. Brightness pushed so far that the teeth look lit from inside.
- Blue-white teeth. Removing so much yellow that enamel turns cold and slightly blue.
- Tinted gums and lips. Manual brushes often bleed onto the gums, turning them pale pink. An automatic tool avoids this.
- Losing tooth separation. If you can no longer see where one tooth ends, the edit has flattened them.
- Equal brightness front to back. Side teeth should sit slightly in shadow.
- Mismatched photo sets. Five photos from the same day should have similar teeth. Use the same slider value across a carousel.
- Whitening a closed smile. If only a sliver of teeth shows, a small amount goes a long way.
Pair it with a softer smile
Sometimes the issue isn’t color at all, it’s a tight or half-hearted smile. A small lift at the corners of the mouth can make a photo feel warmer without changing who you are. The smile filter lifts the mouth corners and cheeks together, like a real smile, and works well alongside a light teeth whitening pass.


Keep both edits gentle. A natural smile plus slightly brighter teeth reads as “happy and relaxed”; a big lift plus bright white teeth reads as “edited”.
A quick note on honesty
Whitening teeth in a photo is about as harmless as edits get, but it’s still worth keeping it looking like you, especially on a dating profile or a professional headshot where people will meet you in real life. If your teeth have a natural warm shade, a light touch that cleans up the camera’s yellow cast is perfect. For more ideas on photos people will see before they meet you, read our dating profile photo tips.
Before-you-post checklist
- The overall photo color looks neutral, not orange or blue.
- Teeth are slightly less bright than the whites of the eyes.
- You can see the edges and gaps between teeth.
- Gums and lips are their natural color.
- Back teeth are a little darker than front teeth.
- Every photo in the same set uses a similar amount.
- You looked at it again after a short break and it still feels natural.
Follow those and your smile will look bright, healthy and completely like you. Want to polish the rest of the portrait too? Our guide on how to smooth skin in photos naturally uses the same “less is more” approach.
Frequently asked questions
How do I whiten my teeth in a photo for free?
Open the free FaceBodyTune editor, upload your photo and move the Whiten teeth slider in the Face panel. It detects your teeth automatically, so lips and gums stay untouched. Around 25–40 looks natural for most photos.
Why do my teeth look yellow in photos when they don’t in the mirror?
Warm indoor lighting, the shadow from your upper lip and your phone’s automatic white balance all push teeth toward yellow on camera. Fixing the overall light often helps as much as whitening.
How white should teeth look in a photo?
Natural teeth are never pure white. A good rule is to keep them slightly less bright than the whites of your eyes, with a touch of warmth left in.
Can I whiten teeth in a group photo?
Yes. The tool works on every detected face, but check each person at 100% zoom, because people further from the camera can look over-whitened more quickly.
Try it on your own photo
Free face and body edits right in your browser — plus AI tools when you want more.
Whiten teethKeep reading

How to Try New Hairstyles on Your Face Before the Salon
Want to try new hairstyles on your face before you commit? Learn how to match cuts to your face shape, preview bobs, bangs and curls with AI, and bring the right reference to your stylist.

Seasonal Color Analysis: Find Your Season (Free 2026 Guide)
A practical guide to seasonal color analysis: what undertone, depth and contrast mean, how to tell Spring, Summer, Autumn and Winter apart, and how to test your season for free in daylight.

What Face Shape Do I Have? How to Tell in 2 Minutes
What face shape do I have? Learn how to measure your face at home, understand the six face shapes (oval, round, square, heart, oblong, diamond) and find the hairstyles, glasses and makeup that flatter each.