How to Smooth Skin in Photos Naturally (No Plastic Look)
Want to smooth skin in photos without the airbrushed, plastic look? Here’s how much smoothing looks natural, how to keep texture, how to soften fine lines and the mistakes that give retouching away.

Skin smoothing is the most popular edit in portrait photography, and also the most overdone. We’ve all seen the result: skin so flat it looks like porcelain, a face that seems slightly out of focus, a person who doesn’t quite look like themselves.
Natural skin smoothing is the opposite. It takes the edge off redness, tired patches and harsh light, but you still look like you. Here’s exactly how to do it.
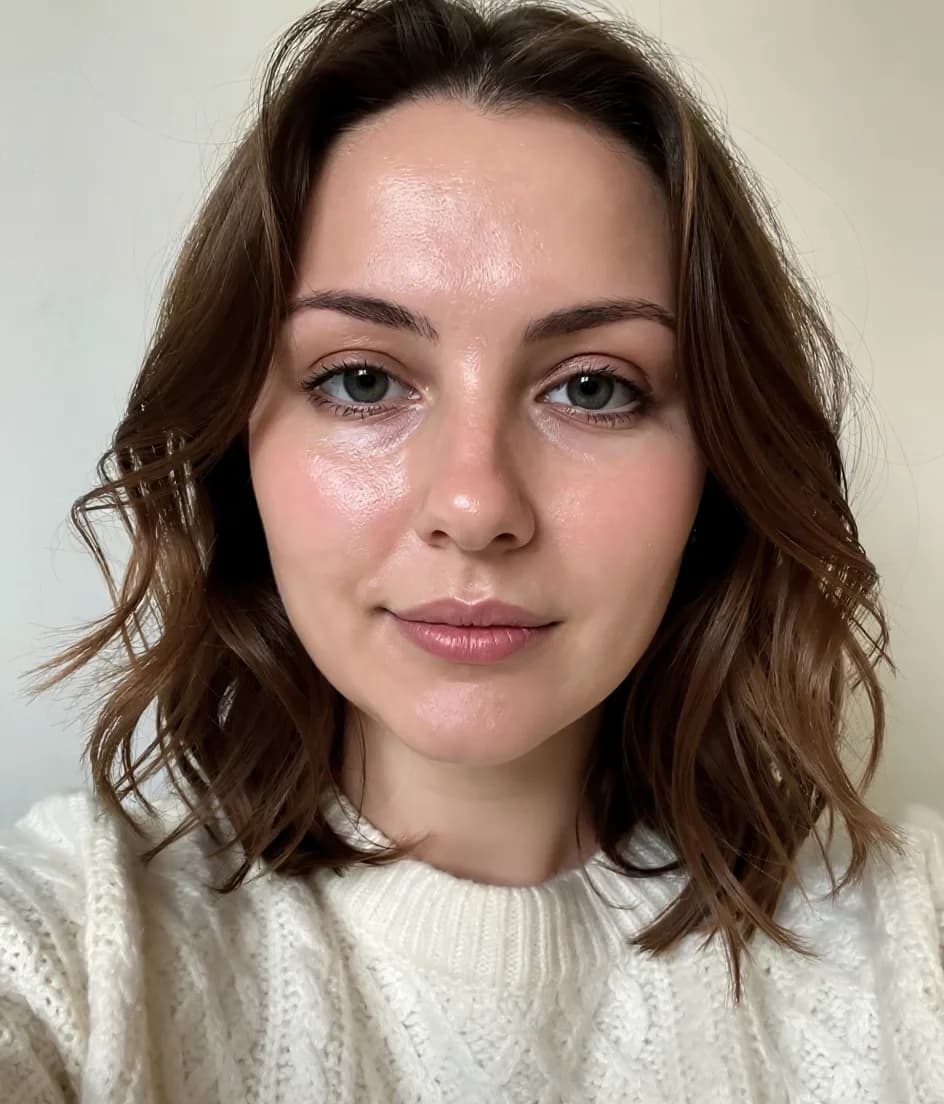
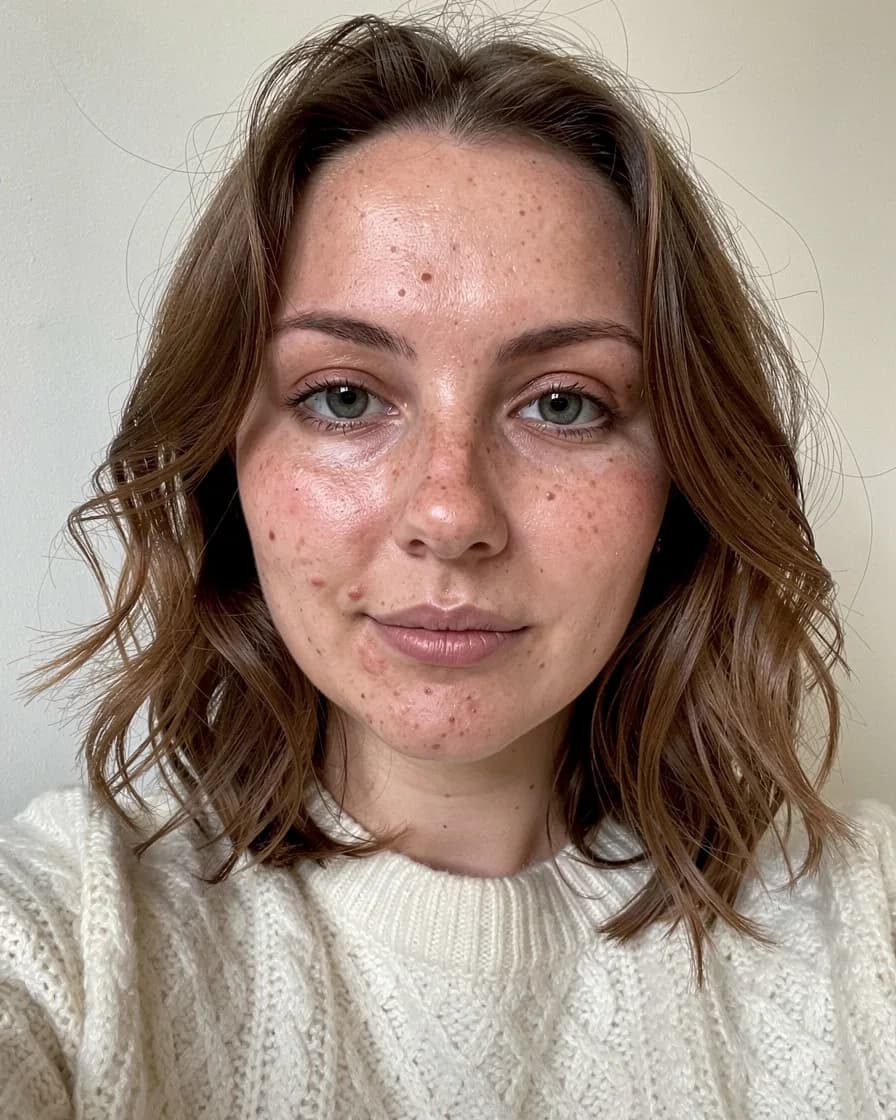
What “natural” skin smoothing actually means
A natural retouch changes color and contrast, not texture. In practice that means:
- Redness and blotchy patches are evened out.
- Small spots fade.
- Harsh shadows from overhead light soften.
- Pores, tiny hairs and fine texture stay visible.
- Your features, from the shape of your nose to the creases when you smile, stay exactly the same.
Think of it as the photo version of a good primer and light foundation, not a mask.
Start with the photo, not the slider
The less work the editor has to do, the more natural the result. Before you retouch:
- Face the light. Soft light from a window in front of you smooths skin more convincingly than any slider.
- Avoid overhead light. Ceiling lights create shadows under the eyes and around the nose.
- Step back a little. Wide-angle phone cameras exaggerate texture up close. Holding the phone slightly further away helps.
- Pick the sharpest shot. Smoothing a blurry photo makes it look even blurrier.
For more on getting the shot right, read our guide on how to take a good selfie.
How to smooth skin in FaceBodyTune
The Smooth skin slider is designed to remove spots and even out tone while keeping pores and texture. It’s free and updates in real time.
- Upload your photo. Open the free editor and add your portrait.
- Open Face, then Retouch. You’ll see the Smooth skin and Brighten face sliders.
- Try a one-tap preset. Natural applies light smoothing, a touch of brightening and gentle teeth whitening. Glow and Flawless go further.
- Adjust by hand. Set Smooth skin between 25 and 45 for most photos.
- Add a little light. Brighten face at 10–20 lifts tired shadows without flattening the face.
- Check at 100%. Zoom into the cheeks and nose. If you can’t see any pores, back off.
- Download. Save your photo at full resolution.
These basic edits run in your browser, so your photo isn’t uploaded or kept. Find out more on the skin smoothing page.
Tip: retouch with the photo at full screen, then look at it again at the size people will actually see it, like a small profile circle. What looks subtle full size can disappear completely when small, and vice versa.
How much smoothing should you use?
These ranges are a reliable starting point:
- Everyday selfies: 20–35
- Instagram posts: 25–40
- Professional headshots: 20–35
- Wedding and event portraits: 30–50
- Men’s portraits: 15–30, to keep stubble and beard texture crisp
- Mature skin: 20–35 plus a little brightening; light reflected off skin looks more youthful than erased texture
If you find yourself going above 60, the photo itself probably needs better light, not more smoothing.
Softening fine lines and wrinkles
Lines are part of every adult face, and they often show when you’re laughing, which is exactly when you look your best. Still, harsh light can make them look deeper than they are.
For a gentle reduction of forehead lines and crow’s feet, the AI wrinkle remover softens lines while keeping a natural, age-appropriate look. It uses one AI edit from your daily free allowance.

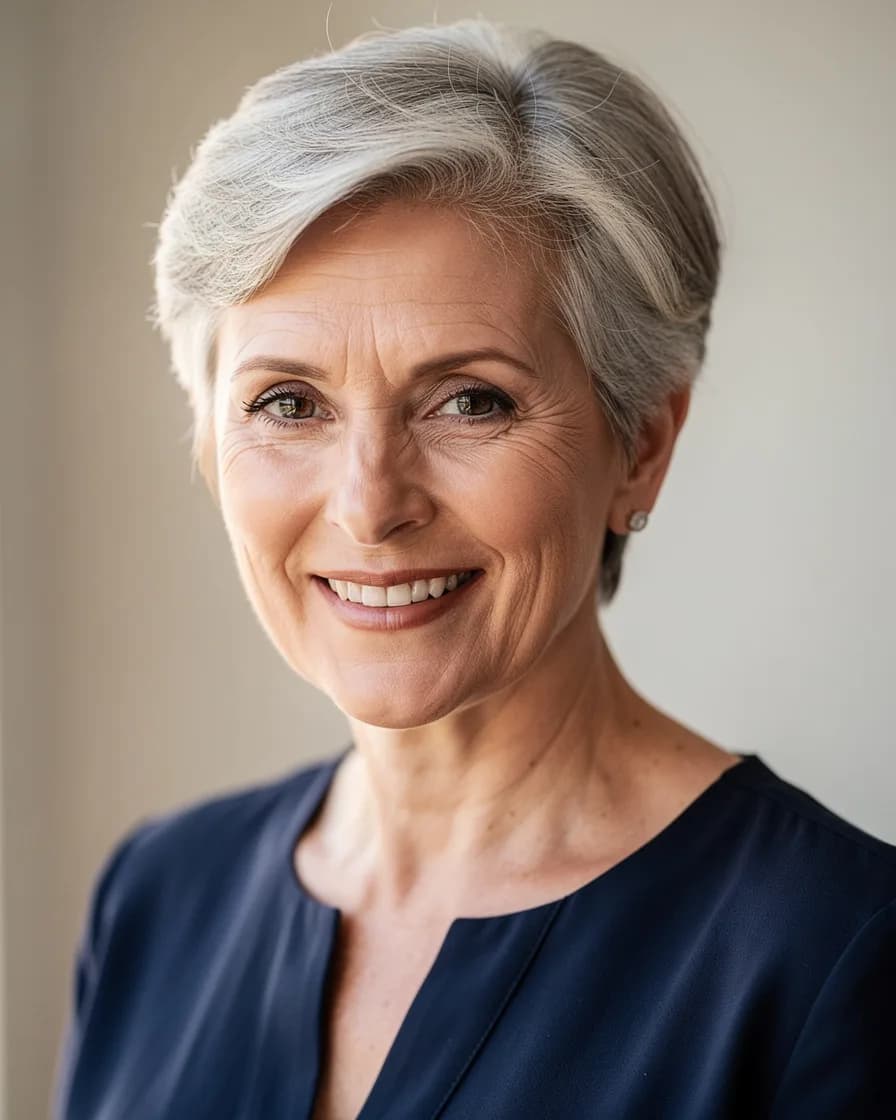
A few rules for wrinkles:
- Soften, don’t erase. Reduce lines by roughly a third to a half. Fully smooth skin around smiling eyes looks wrong.
- Keep expression lines. Laugh lines show warmth and happiness.
- Match the hands and neck. If your face looks a decade younger than your hands, the edit stands out.
7 signs your skin smoothing has gone too far
- You can’t see any pores on your nose at 100% zoom.
- Your skin has no shine at all on the forehead or cheekbones.
- Eyebrows, eyelashes or hairline look soft or blurred.
- Freckles or beauty marks you love have disappeared.
- Your face looks noticeably smoother than your neck and hands.
- The face looks slightly out of focus compared with your hair and clothes.
- A friend says “you look different” instead of “you look great”.
Smoothing skin of every tone
Good retouching works for every skin tone, but there are a few things to watch:
- Deeper skin tones have beautiful natural highlights on the forehead, nose and cheekbones. Keep them. Heavy smoothing can make deeper skin look gray or flat.
- Fair skin shows redness more easily. A moderate smoothing amount often fixes redness without needing more.
- Olive and golden tones can turn slightly green or yellow under fluorescent light. Correct the overall color with a filter before smoothing.
If you want to adjust your overall tone, use the skin tone editor separately, and keep that change small too.
Where honesty matters
Light smoothing is fine for nearly any photo. For dating profiles and professional headshots, aim for “well rested” rather than “different person”, since people will meet you in real life. Passport and ID photos are different: most governments do not allow retouching that changes your appearance, so stick to the original.
Smoothing is also a personal choice in the other direction. If you love your skin’s texture, freckles or the lines around your eyes, leave them exactly as they are. A natural retouch should never feel like pressure to look a certain way; it’s simply a tool for making the photo match how you feel.
Before-you-post checklist
- Pores are visible at 100% zoom.
- Natural shine on forehead and cheekbones is still there.
- Brows, lashes and hairline are crisp.
- Freckles and beauty marks you want to keep are intact.
- Face, neck and hands look like they belong together.
- You checked the photo at small size and full size.
Need to tackle individual spots first? Read how to remove blemishes from photos, then come back for a final, gentle smoothing pass.
Frequently asked questions
How do I smooth skin in a photo without it looking fake?
Keep the smoothing amount between about 25 and 45, check at 100% zoom that pores are still visible, and leave natural features like freckles and laugh lines in place.
What is the best free app to smooth skin in photos?
Any tool that keeps texture is a good choice. FaceBodyTune’s Smooth skin slider is free, works in your browser and is designed to remove spots and redness while keeping pores.
Can I remove wrinkles from a photo?
You can soften them. The AI wrinkle remover reduces forehead lines and crow’s feet while keeping a natural, age-appropriate look. Softening looks better than erasing.
Try it on your own photo
Free face and body edits right in your browser — plus AI tools when you want more.
Smooth my skinKeep reading

How to Try New Hairstyles on Your Face Before the Salon
Want to try new hairstyles on your face before you commit? Learn how to match cuts to your face shape, preview bobs, bangs and curls with AI, and bring the right reference to your stylist.

Seasonal Color Analysis: Find Your Season (Free 2026 Guide)
A practical guide to seasonal color analysis: what undertone, depth and contrast mean, how to tell Spring, Summer, Autumn and Winter apart, and how to test your season for free in daylight.

What Face Shape Do I Have? How to Tell in 2 Minutes
What face shape do I have? Learn how to measure your face at home, understand the six face shapes (oval, round, square, heart, oblong, diamond) and find the hairstyles, glasses and makeup that flatter each.