LinkedIn Headshot Tips: How to Look Professional in 2026
LinkedIn headshot tips that make a real difference: framing, background, outfit, expression, the right photo size and how to create a professional headshot at home or with AI.

Your LinkedIn photo is often the first thing a recruiter, client or new colleague sees. It doesn’t need to look like a studio portrait, but it should look professional, approachable and, above all, like you. A clear headshot also makes your profile far more likely to get clicked in search results and comments.
Here’s everything that matters for a strong LinkedIn headshot, from framing and outfit to editing and AI options, plus a checklist to run through before you hit save.

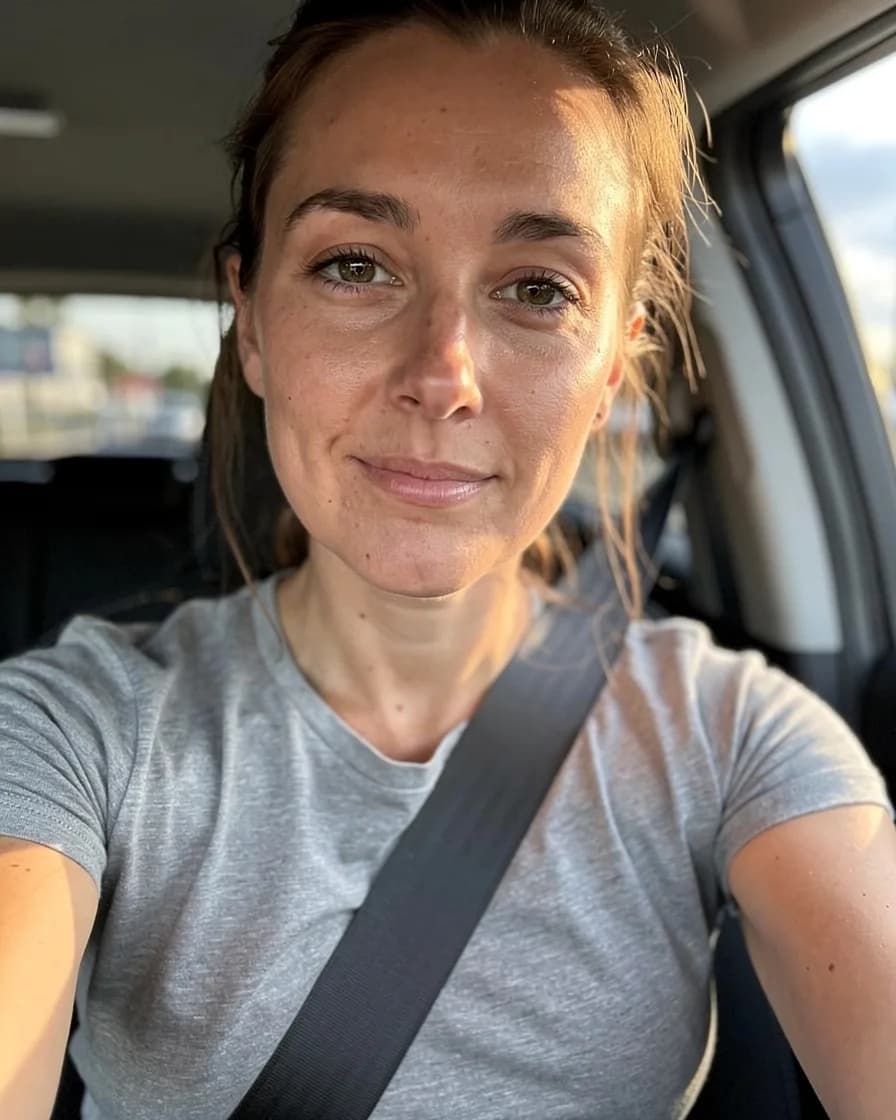
Framing: head and shoulders, nothing more
LinkedIn shows your photo in a small circle, so framing matters.
- Head and shoulders only. Your face should fill around 60% of the frame. Full-body or waist-up shots make your face too small to read.
- Center your face with your eyes about a third of the way down from the top.
- Leave a little space above your head so the circle crop doesn’t cut into your hair.
- Crop to a square before uploading so you control the framing.
Tip: upload at around 1000 by 1000 pixels. LinkedIn has long recommended at least 400 by 400 pixels, but larger files stay sharp on high-resolution screens. Requirements can change, so check LinkedIn’s help pages if an upload fails.
Light, camera and background
You can create a professional-looking headshot at home with a phone and a window.
- Face a large window on an overcast day, or a few hours from midday. Soft, even light is the goal.
- Use the rear camera on a tripod or a stack of books, at eye level.
- Stand about one to two meters away and use the 2x or portrait lens. This avoids the wide-angle distortion of close-up selfies.
- Use the timer or a remote shutter so you can relax into a natural expression.
- Take 30 or more frames. Small changes in expression make a big difference, and you only need one great shot.
For more on light and lens distance, see how to take a good selfie.
Background: simple and slightly lighter than you
- Plain and uncluttered works best. A light gray, soft blue or off-white wall is classic.
- A softly blurred office or outdoor setting feels modern and approachable if the background isn’t distracting.
- Avoid busy bookshelves, kitchens, cars and holiday scenes. They pull focus and can look casual.
If the background in your best shot is messy, swap it for a clean studio color with the background changer.
What to wear
- Dress for your industry, one notch above your everyday work outfit. A blazer for finance or law, a smart knit or collared shirt for tech and creative fields.
- Solid colors photograph best. Navy, charcoal, soft blue, burgundy and deep green suit most skin tones. Pure white and black can be harsh in small images.
- Choose a neckline that frames your face. V-necks, open collars and structured shoulders work well.
- Keep accessories minimal. Small jewelry is fine; large logos, slogans and bold patterns distract.
- Glasses on if you usually wear them. Tilt the frames very slightly down to reduce reflections.
Men looking for specific outfit and grooming ideas can browse headshots for men.
Expression and pose
- A relaxed, genuine smile reads as confident and approachable in most industries. Smile with your eyes; a little squint from the lower lids helps.
- Turn your shoulders 15 to 30 degrees from the camera and bring your face back to it.
- Push your chin slightly forward and down to define the jawline.
- Sit or stand tall with relaxed shoulders. Roll them back and down before each shot.
- Look straight into the lens. Direct eye contact builds trust.


Editing: polish, don’t transform
A professional headshot should look like you on your best workday, not like someone else.
Good edits:
- Brightness, contrast and color balance
- Gentle photo retouching for temporary blemishes, flyaway hairs and under-eye shadows
- Background cleanup or replacement
- A slight teeth or eye brighten, kept subtle
Edits to avoid:
- Reshaping your face or jaw
- Heavy skin smoothing that removes texture
- Changing your skin tone, eye color or apparent age
People will meet you on video calls and in person. If your photo doesn’t match, it creates a small moment of doubt, which is exactly what you don’t want in a first professional impression.
How to do it in FaceBodyTune
No time for a photo session? The AI corporate headshot turns a few clear selfies into a polished, professional headshot with a clean background and business attire, while keeping your face recognizable.
- Upload two or three well-lit, front-facing selfies in the editor.
- Open the AI tab, find AI headshots and choose Corporate.
- Generate several variations and pick the one that looks most like you.
- Adjust brightness or crop to a square if needed.
- Download and upload to LinkedIn, your email signature and work tools.
You’ll find more examples on the LinkedIn headshot generator page. Photos sent to our AI tools are deleted automatically within 24 hours.
Use it everywhere, update it regularly
- Use the same headshot on LinkedIn, your company directory, email signature and speaker bios. Consistency makes you easier to recognize.
- Update it every two to three years, or sooner if you change your hair, glasses or overall look.
- Add a banner image that reflects your field. It frames your headshot and gives your profile a finished feel.
Our profile picture tips cover how to adapt the same photo for other platforms.
LinkedIn headshot checklist
- Head and shoulders, face filling about 60% of a square frame
- Soft, even light from the front
- Plain or softly blurred background
- Solid-color outfit appropriate for your industry
- Genuine smile, direct eye contact
- Edited lightly so it still looks exactly like you
- Uploaded at around 1000 by 1000 pixels
A great LinkedIn headshot is simple: good light, a clean background and an expression that says you’d be easy to work with. Get those three right and you’re ahead of most profiles.
Frequently asked questions
What should I wear for a LinkedIn headshot?
Wear what you’d wear to an important meeting in your industry, in a solid color that contrasts with the background. Navy, charcoal, soft blue, burgundy and forest green work for most people. Avoid busy patterns and large logos.
What size should a LinkedIn profile photo be?
LinkedIn has long recommended a square photo of at least 400 by 400 pixels. Uploading around 1000 by 1000 pixels gives a sharp result on every screen. Check LinkedIn’s help pages for the current limits.
Is it okay to use an AI headshot on LinkedIn?
Yes, as long as it looks like you. An AI headshot should keep your real face, hair and features so colleagues and recruiters recognize you on video calls and in person.
Should I smile in my LinkedIn photo?
In most industries, yes. A relaxed, genuine smile reads as approachable and confident. A closed-mouth smile works well if you prefer a more serious look.
Try it on your own photo
Free face and body edits right in your browser — plus AI tools when you want more.
Make my headshotKeep reading

How to Make a Passport Photo at Home (Step-by-Step Guide)
Learn how to make a passport photo at home that’s more likely to be accepted: lighting, plain backgrounds, framing, common sizes by country and the retouching rules you must follow.

Dating Profile Photo Tips: 6 Shots to Include (and Avoid)
Honest dating profile photo tips: the six shots to include, which photos to leave out, how recent your pictures should be, and why light edits beat heavy filters on dating apps.

Profile Picture Tips: How to Look Your Best Everywhere
Practical profile picture tips for social, work and messaging apps: framing for circle crops, backgrounds that stand out, the right size, and light edits that keep your profile picture looking like you.