How to Make a Passport Photo at Home (Step-by-Step Guide)
Learn how to make a passport photo at home that’s more likely to be accepted: lighting, plain backgrounds, framing, common sizes by country and the retouching rules you must follow.

Passport photo booths are expensive, the lighting is harsh and you get one chance to blink at the wrong moment. Taking the photo at home gives you as many tries as you like, for free. The catch is that passport photos have strict rules, and a rejected photo can delay your application.
This guide walks you through the practical side: light, background, framing and sizing. One important point before we start: rules differ between countries and change over time. Use this as a how-to, and treat your government’s official passport guidance as the final word.
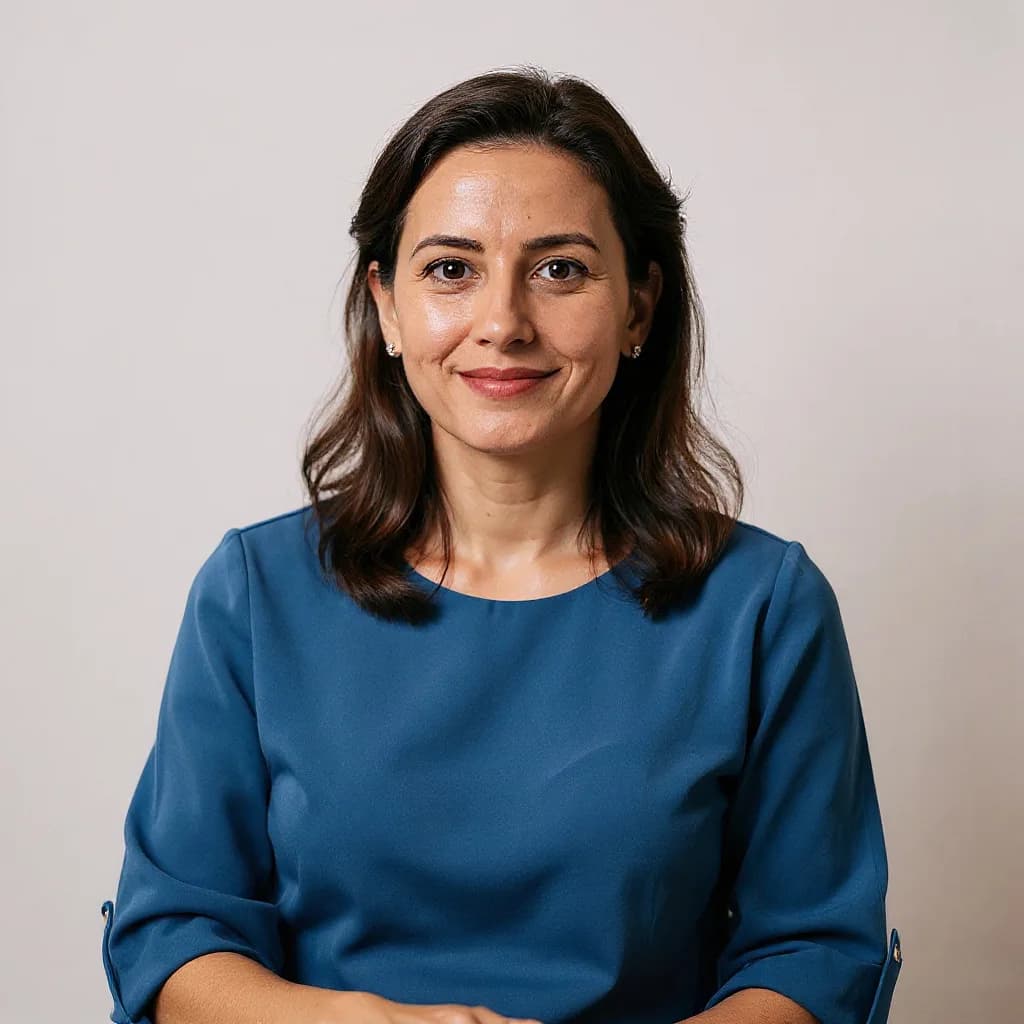
Step 1: Check your country’s official rules first
Before you set anything up, open your passport office’s official website and note:
- Photo size. The US uses 2 × 2 inches (51 × 51 mm). The UK and many EU countries commonly use 35 × 45 mm. Others differ.
- Head size. Usually given as a range for chin-to-crown height, for example a percentage of the photo height or a measurement in millimetres.
- Background color. Often plain white, off-white, cream or light gray, depending on the country.
- Digital vs printed. Many online applications want a digital file with specific pixel dimensions; paper applications need prints.
- Glasses, head coverings and expression. Many countries now ask you to remove glasses. Religious or medical head coverings usually have their own rules.
Write the key numbers down. Everything else in this guide fits around them.
Step 2: Set up the background
Find a plain, light, evenly colored wall with no pattern, texture, posters or door frames in shot. If you don’t have one, tape a sheet of matte white or light gray poster board to a wall.
- Stand about half a metre to a metre in front of it. This reduces your shadow on the wall.
- Avoid glossy surfaces that reflect light.
- Make sure the wall color matches what your country asks for. Bright white walls can photograph slightly blue or gray; that is usually fine as long as it’s even.
Step 3: Get the lighting right
Lighting is where most home passport photos fail. You want soft, even light on both sides of your face and no shadows behind you.
- Face a window on an overcast day, or with indirect daylight. Don’t stand with the window behind you.
- Avoid overhead lights alone. They create dark eye sockets and a shadow under the nose.
- Fill in shadows. If one side of your face is darker, place a white towel or sheet of paper on that side to bounce light back.
- No flash if you can avoid it. Direct flash causes red eye and shiny skin, and can throw a hard shadow onto the wall.
Tip: take a test shot and zoom in. If you can see a clear shadow on the wall behind your head, step further forward or soften the light.
Step 4: Framing and taking the photo
Ask someone else to take the photo. Selfies are usually too close and distort your features, which can count against you.
- The camera should be at eye level, about 1–1.5 metres away. Leave plenty of space above your head and below your shoulders; you will crop later.
- Face the camera straight on with your shoulders square.
- Keep a neutral expression, mouth closed, eyes open and looking directly at the lens.
- Tuck hair behind your ears if it covers your eyebrows or eyes.
- Wear a plain top in a color that contrasts with the background. Avoid white on a white wall, and avoid uniforms or anything that looks like one.
- Take 10–20 shots and pick the sharpest one with even light.
Step 5: Crop to the right size
Now trim the photo to your country’s proportions and get the head size right.
How to crop in FaceBodyTune
- Upload your best shot to the editor.
- Open Filters and scroll to Crop & flip.
- Pick the passport preset for a 35 × 45 mm shape, or 1:1 if you need a square US-style 2 × 2 inch photo.
- Zoom and position so your head is centerd, with your chin-to-crown height within your country’s required range and a little space above your hair.
- Download the cropped file.
Cropping is a basic edit, so it’s free and runs in your browser; we don’t keep your photos. If you need a print, most photo-printing services can print a passport-size image or a sheet of several copies.
Our passport photo maker page has more on sizes and formats, and the crop images tool covers other aspect ratios.
The rule you must not break: no retouching
This is the honest part. Passport authorities forbid edits that change how you look. That generally includes:
- Skin smoothing or blemish removal
- Teeth whitening or eye color changes
- Face slimming or reshaping
- Removing moles, scars or freckles
- Filters, beauty modes or heavy color changes
A passport photo must look exactly like you on the day, because it is used to identify you. Generally, the safest edits are cropping and, at most, a small overall brightness or contrast correction if your country allows it. Turn off any beauty mode on your phone camera before you start.
We also offer an AI passport-style headshot, which is handy for things like a neat ID-style picture for a work badge or a profile. Official rules come first, though. AI-generated or AI-altered images are very likely to be rejected for a real passport or visa, so for an official application, use a genuine, unretouched photo.
Common reasons home passport photos get rejected
- Shadows on the face or the background
- Head too large or too small in the frame
- Head tilted, or shoulders turned
- Hair covering the eyes or eyebrows
- Glare on glasses, or glasses worn where they aren’t allowed
- Blurry, grainy or low-resolution files
- Visible retouching or a phone beauty filter
Before-you-submit checklist
- I checked my country’s current official size, background and head-size rules
- Background is plain, light and evenly lit
- Face is evenly lit with no strong shadows
- Neutral expression, eyes open, looking at the lens
- Cropped to the correct proportions with the head size in range
- No retouching, filters or AI changes to my appearance
Once your passport photo is done, you might want a more relaxed picture for everything else. Our guide to profile picture tips covers that, and it’s far more forgiving.
Frequently asked questions
Can I take my own passport photo with a phone?
Many countries accept photos taken at home, and some online applications even ask for a digital photo. A phone is fine if the photo is sharp, evenly lit and meets your country’s size and background rules. Always check the official guidance first.
What size is a passport photo?
It depends on the country. The US uses 2 × 2 inches (51 × 51 mm), while the UK and many European countries commonly use 35 × 45 mm. Head size and margins also vary, so confirm the exact numbers on your government’s official website.
Can I edit or retouch my passport photo?
Generally no beyond simple cropping and possibly a light, even brightness fix. Most authorities forbid any retouching that changes your appearance, such as smoothing skin, whitening teeth or reshaping your face, and photos can be rejected for it.
Can I smile in a passport photo?
Most countries ask for a neutral expression with your mouth closed. Some allow a slight natural smile, but a neutral face is the safest choice.
Try it on your own photo
Free face and body edits right in your browser — plus AI tools when you want more.
Crop my photoKeep reading

LinkedIn Headshot Tips: How to Look Professional in 2026
LinkedIn headshot tips that make a real difference: framing, background, outfit, expression, the right photo size and how to create a professional headshot at home or with AI.

Dating Profile Photo Tips: 6 Shots to Include (and Avoid)
Honest dating profile photo tips: the six shots to include, which photos to leave out, how recent your pictures should be, and why light edits beat heavy filters on dating apps.

Profile Picture Tips: How to Look Your Best Everywhere
Practical profile picture tips for social, work and messaging apps: framing for circle crops, backgrounds that stand out, the right size, and light edits that keep your profile picture looking like you.