How to Blur the Background in Photos (Portrait Mode Guide)
Want that soft, professional look? Here’s how to blur the background in photos, how portrait mode really works, how much blur to use, and how to keep hair and edges looking natural.

A blurred background is the quickest way to make a casual photo look intentional. It pulls the eye straight to the person, hides messy surroundings and gives a soft, professional feel that phone cameras now imitate with portrait mode.
The good news is that you don’t need an expensive lens. You can create the effect in camera, add it after the fact, or combine both. Here is how it works, how much to use, and how to avoid the tell-tale halo around hair.
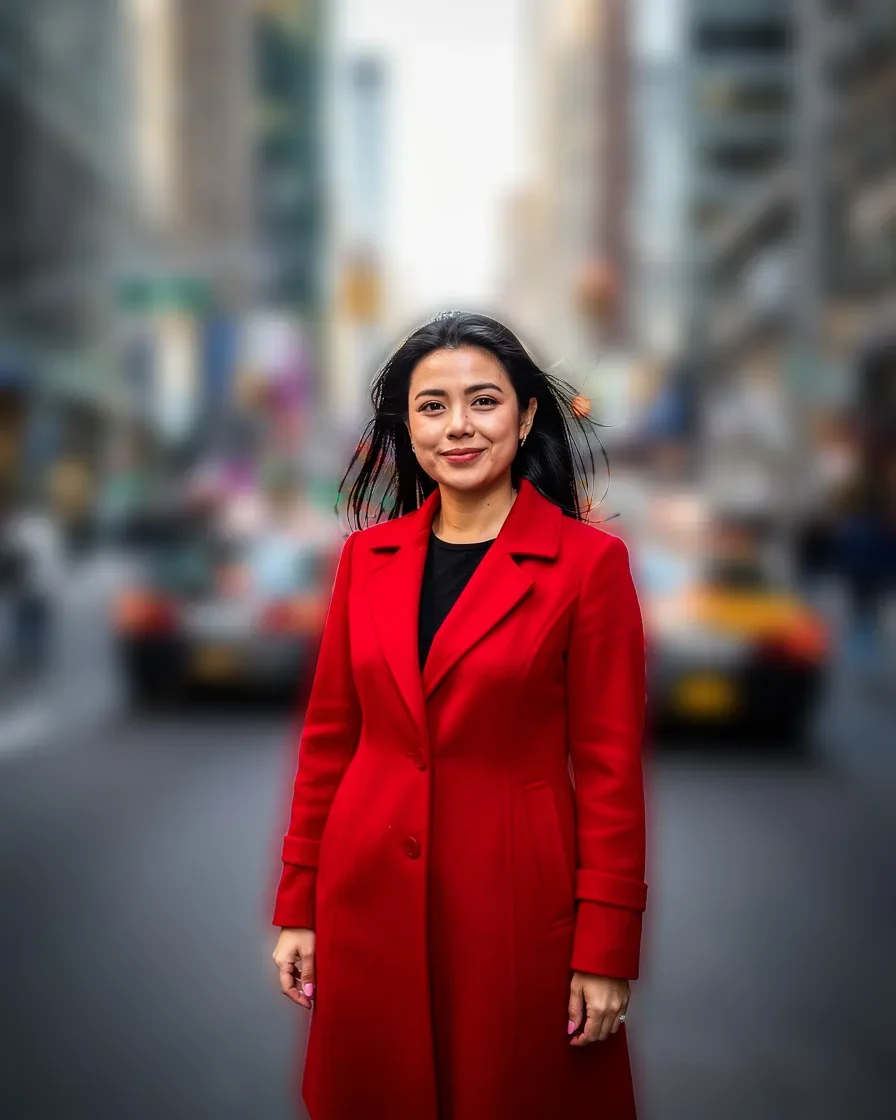
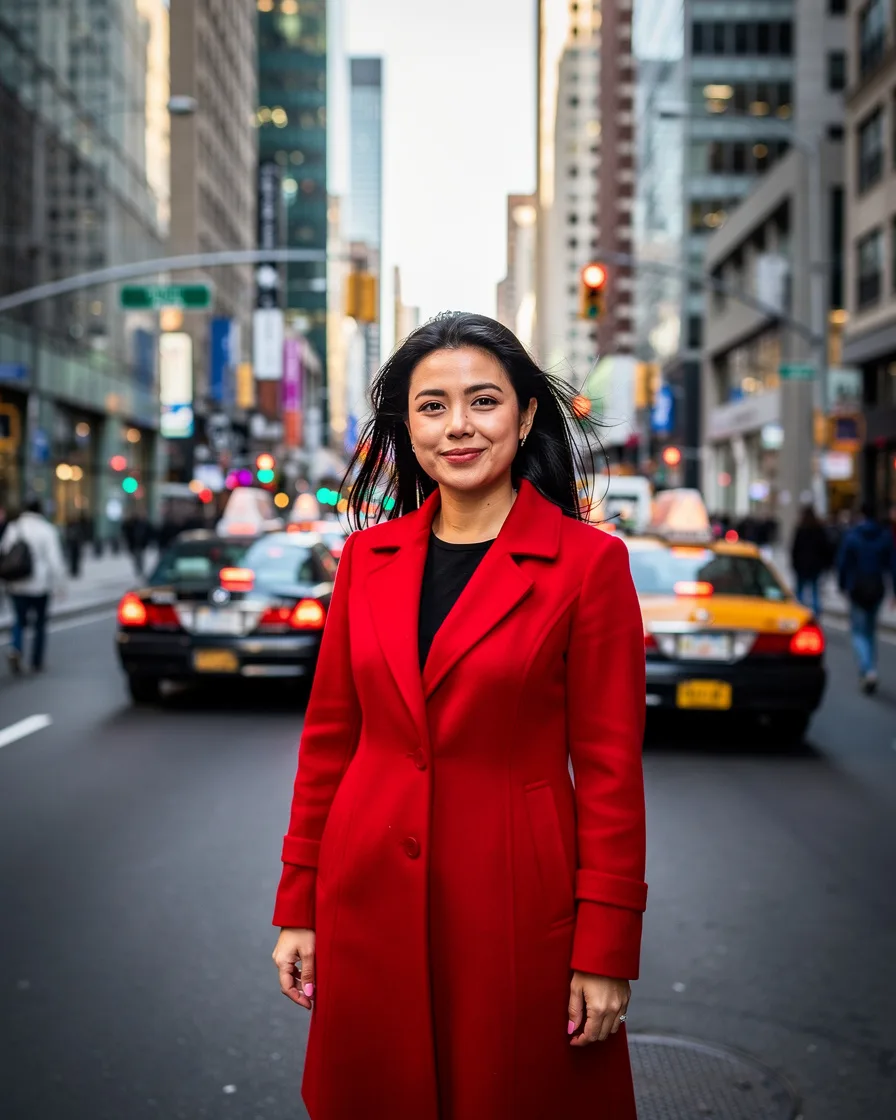
What background blur actually is
In traditional photography, blur comes from shallow depth of field: only a thin slice of the scene is in focus, and everything in front of or behind it gets softer. Three things control it:
- Aperture. A wide aperture (a small f-number like f/1.8) gives more blur.
- Distance to the subject. The closer the camera is to the person, the shallower the focus.
- Distance to the background. The further the background is behind the person, the softer it becomes.
The soft, glowing circles you sometimes see from lights in the background are called bokeh.
How phone portrait mode works
Phone lenses are tiny, so they can’t produce much natural blur. Portrait mode fakes it. The phone estimates depth, separates the person from the background and applies a blur in software.
That is exactly what a background blur editor does too, with one advantage: you can apply it to any photo, at any time, and adjust the strength afterwards. If your phone missed the shot, nothing is lost.
Getting more real blur on a phone
Even without portrait mode, you can capture some genuine softness in camera:
- Use the 2× or 3× lens and step back. Longer focal lengths compress the background and soften it more than the standard wide lens.
- Tap to focus on the eyes so the phone prioritises the face.
- Move closer to your subject for head-and-shoulders shots, rather than zooming in digitally.
- Pick a deep background, like a long street, a park or a big room, instead of a wall right behind the person.
Real optical softness plus a light editing blur looks more convincing than heavy editing blur on its own.
How to blur the background in FaceBodyTune
Our blur photo tool is a basic edit, so it’s free and runs in your browser. We don’t keep your photos.
- Upload your photo in the editor.
- Open Filters and choose Blur under Background. A starting amount is applied straight away.
- Adjust the strength. Slide it down for a subtle effect, up for a dreamy one.
- Check the edges around hair, shoulders and hands at full size.
- Download your photo.
Tip: if the background is very busy (a crowd, a shelf full of objects), blur first, then decide whether you still need to remove a distracting object.
How much blur should you use?
The right amount depends on what the photo is for.
Light blur (about 20–35% strength)
Best for travel, events and lifestyle photos where the place matters. You can still read the scene, but the person stands out. Most people should start here.
Medium blur (about 35–60%)
The classic portrait look. Great for profile pictures, dating photos and social posts. The background becomes shapes and colors rather than details.
Strong blur (60% and above)
Use sparingly. It can work for a close-up headshot against lights at night, but on a full-body shot it often looks like a cut-out pasted onto a painting.
A useful rule: the further away the person is from the camera, the less blur you should add. Real cameras can’t produce heavy blur on a distant, full-length subject, so heavy blur there looks wrong to the eye even if people can’t say why.
Getting clean edges
Edges are where blur succeeds or fails. Watch for these trouble spots:
- Hair. Flyaways and curls are the hardest part. A slightly darker or plainer background helps the edges stay crisp.
- Gaps between arms and body. The background visible through the gap should be blurred too. If it is sharp, the effect falls apart.
- Glasses and jewellery. Thin frames and hoops can get softened by mistake.
- Objects you are holding. A coffee cup or bouquet should stay as sharp as your hands.
Shoot for better edges
You can make any blur tool’s job easier before you press the shutter:
- Stand at least 2–3 metres in front of the background, not leaning on a wall.
- Use soft, even light; avoid strong backlight that makes hair glow.
- Pick a background with contrast to your hair and clothing.
- Keep loose hair and scarves from blowing wildly across the frame.
Common background blur mistakes
- Blurring the ground under the feet. In a real photo, the floor right next to you is in focus too. Too much blur at the feet makes people look like they’re floating.
- Uneven focus on the person. Your face, hair and shoulders should be equally sharp.
- Mixing styles. A heavily blurred background next to a sharp foreground plant or table can look confusing. Keep the effect consistent.
- Using blur to hide a bad photo. Blur can’t fix poor light or a blurry face. If the subject itself is soft, try the photo enhancer first.
Blur vs replacing the background
Sometimes blur isn’t enough. If the background is truly unflattering, such as a cluttered bedroom, consider a different background altogether with the background changer, or remove it completely with the background remover for product-style shots. Blur keeps the photo real; replacement creates a new scene. Choose blur when you want the moment to stay authentic.
Before-you-post checklist
- Face and eyes are the sharpest part of the image
- Hair edges look natural, with no bright halo
- Background visible between arms or legs is also blurred
- The ground near the feet isn’t heavily blurred
- Blur strength suits the distance: lighter for full-body, stronger for close-ups
Get these right and your photo will look like it came from a proper portrait lens, even if it started as a quick snap.
Frequently asked questions
How do I blur the background of a photo I already took?
Upload it to a background blur tool. The editor finds the person, keeps them sharp and softens everything behind them, so you can add a portrait-mode look to any existing photo.
How much background blur looks natural?
For most portraits, a light to medium blur looks best. You should still be able to tell where the photo was taken; if the background turns into a smooth wash of color, it usually looks fake.
Why does portrait mode blur my hair?
Fine hair, glasses and loose clothing are hard to separate from the background. A plain backdrop, good light and a bit more distance between you and the background all improve edges.
Try it on your own photo
Free face and body edits right in your browser — plus AI tools when you want more.
Blur backgroundKeep reading

How to Preview a Tattoo Before Getting It (Placement & Size)
Preview a tattoo before getting it by trying designs on your own photo. Learn how to test placement, size, scale and opacity, why you should sleep on it, and what to bring to your tattoo artist.

How to Look Taller in Photos: 10 Posing & Editing Tips
Want to look taller in photos? These posing, camera angle and outfit tricks add visible length, plus how to use a height editor subtly so your photos still look natural.

How to Edit Your Body in Photos Naturally: 9 Pro Tips
Bent door frames and stretched faces give an edit away instantly. Here are nine retoucher tricks for natural body edits — waist, height and more.